
Learning how to use on-camera flash on a wedding day can be so overwhelming. There is gear with all these buttons and settings. There is your camera settings you are trying to get right. On a wedding day things move so quickly that you are scared you are going to miss the moment trying to figure out your flash. I remember it feeling so daunting in the beginning for me too! I felt like an imposter trying to book weddings and not even knowing how to use a flash. However, it is SO important as a wedding photographer to know how to shoot in various lighting situations which includes low light situations. Whether you’re indoors with dim lighting, shooting an indoor ceremony, or capturing candid moments during the reception, your on-camera flash can be a lifesaver. But, it’s not just about slapping your flash on your camera and hoping for the best. Using flash well requires the right gear, settings, and techniques and it doesn’t have to be scary or hard!
In this blog, I want to walk you through my gear recommendations for on-camera flash, my simple system to flash settings, scenarios to use on-camera flash, and some essential tips to ensure you are using your flash in the best possible way. I am also going to share my photos throughout that give you examples of when I have used this exact on-camera flash system!
1. Gear for on-camera flash
Before we dive into my simple on-camera flash system, you must have the right gear.
- On-Camera Flash: Just as you must have the right camera and lenses, you need a flash that you can depend on for a wedding day. I am always going to recommend your camera’s brand flash so that you know it is compatible. These also tend to have less issues firing and doing what you tell them to do. Choosing a flash brand is totally your choice. I highly recommend doing research on the three I have listed below when deciding what would work best for you and your business. Investing in a high quality external flash is going to make a huge difference in the outcome of your photos with flash on a wedding day. I personally shoot with a Nikon z7II camera and have a Nikon speedlight SB-700 that I use on all wedding days. Here is the link to the Nikon SB- 700.
- Nikon SB-5000 (newest Nikon flash): Click here for the link to this flash.
- Canon Speedlite 430EX III-RT: Click here for the link to this flash.
- Godox V1 (Great option for both Canon and Nikon): Click here for the Nikon version of this flash. Click here for canon version of this flash.
- Flash Diffuser or Bounce Card: If you plan to shoot weddings often, you will most likely book a wedding inside of a building with tall ceilings. You may also have a wedding that is inside of a barn, or a reception outside with no ceiling to bounce light off of. My point being, you will not always have a pretty white or neutral wall to bounce light off of. This is where your diffuser or bounce cards will come in. I personally use the MagMod kit when shooting with flash in these scenarios. This allows me to keep my flash system super simple, and keep my photos consistent with flash and natural light. For the MagMod system you will need the MagMod grip as well. Here is the link to the MagMod kit with the grip. Here is the link to the MagMod bounce. I have and use both depending on the scenario. Some flashes also have a built in bounce card that you can also use to bounce light instead of a MagMod. Please note, that this does not always give a better result than the MagMod in certain scenarios.
- Batteries: I use rechargeable batteries from Enneloop. You can use regular batteries that fit your flash. However, be mindful that you will go through A LOT of batteries this way especially shooting weddings. Rechargeable batteries have worked great for me and my business and has helped me save money over time. Here are the link to the BATTERIES and CHARGER.
2. Simple Flash Settings for Beginners
Okay now to the hard part! But guess what..? It doesn’t have to be hard! I am going to walk you through your settings for flash. I use this system every single wedding day and get consistent photos with flash every time. Please remember getting your settings right can take a bit of trial and error, just as it did when you were learning your camera. But, once you find your rhythm you’ll have more control over how your photos turn out and will feel even more confident at your next wedding. Here are the key settings I focus on when using on-camera flash.
- ISO:
I usually set my ISO to a minimum of 1000. You want to keep it as low as you can to avoid too much noise from occurring in your photos, but you also don’t want to drop it too low and not allow your camera to bring in enough light to expose your image properly. Aim for ISO of 1000-1600 in low light conditions. This range is usually my sweet spot and keeps my photos evenly lit.
- Aperture:
I really like to shoot with my aperture around 2.0 because I love a creamy background. When shooting a reception with flash though, I typically bump my aperture to around 4.0 to ensure my photos will be in focus. A typical aperture for wedding photography is around f/2.8 to f/5.6. You need to think about what you are capturing at the wedding when deciding on your aperture. If you are shooting portraits you will want to stick around 2.0 if you are shooting a large group or candid dancing photos, you will need to bump up your aperture to ensure your camera will get everyone in focus.
- Shutter Speed
I always keep my shutter speed at 1/200th to 1/250th of a second when using a flash. This is usually fast enough to prevent motion blur while still allowing ambient light into the scene. If your shutter speed is too slow, you risk introducing blur from movement. **Please note that your camera does have a sync speed typically 1/250 or slower. If you exceed this sync speed without enabling high speed sync, you’ll get a dark band across the bottom of your images because the camera’s shutter cannot fully open and close in sync with your flash.
- Flash Power:
Flash power is the intensity of light that comes from your flash when it fires. This is measured in fractions like 1/1, 1/4, 1/8, 1/16, 1/32, etc. I typically start with 1/32 flash power and adjust as needed. The way I remember it is the higher the bottom number of the fraction the lower the flash power(less light). If you start at 1/32 flash power and your image needs more light, I would bump my flash power to 1/16 and try again. If you try at 1/32 flash power and your image needs less light, I would bump my flash power to 1/64 and try again. **Please note that high flash power (1/16 for example) requires more energy from your batteries and can lead to longer recycle times of when your flash can fire again.
- Flash Mode:
There are 2 modes of flash that you can use. Manual, which is just described with my go to settings, Or TTL (Through the Lens) mode for automatic flash based on your camera’s settings. While TTL seems easier, it does limit the control over how much flash you are adding into your images. I recommend spending some time practicing in your house to master manual flash before your next wedding. Like I said it is trial and error, but once you master it you will see a vast improvement in your images and your confidence!
3. When Should You Use On-Camera Flash in Wedding Photography?
Wedding days are FILLED with low light scenarios where an on-camera flash will be essential. However, you don’t want to overdo it especially if you love natural light like I do. Here are a few scenarios where using your flash can elevate your photos:
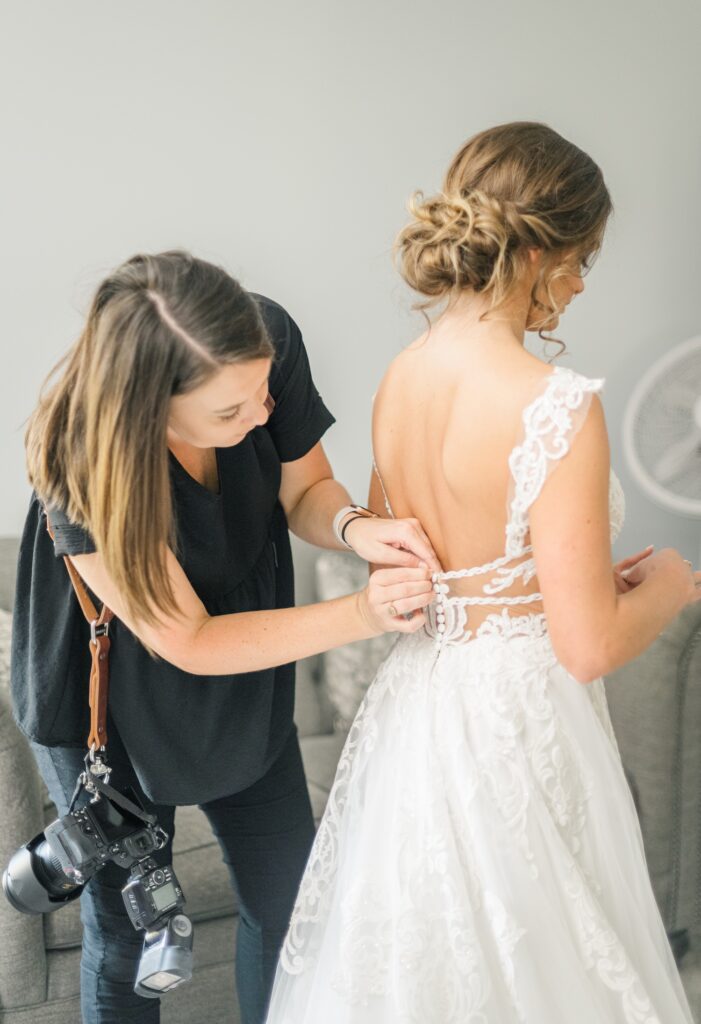
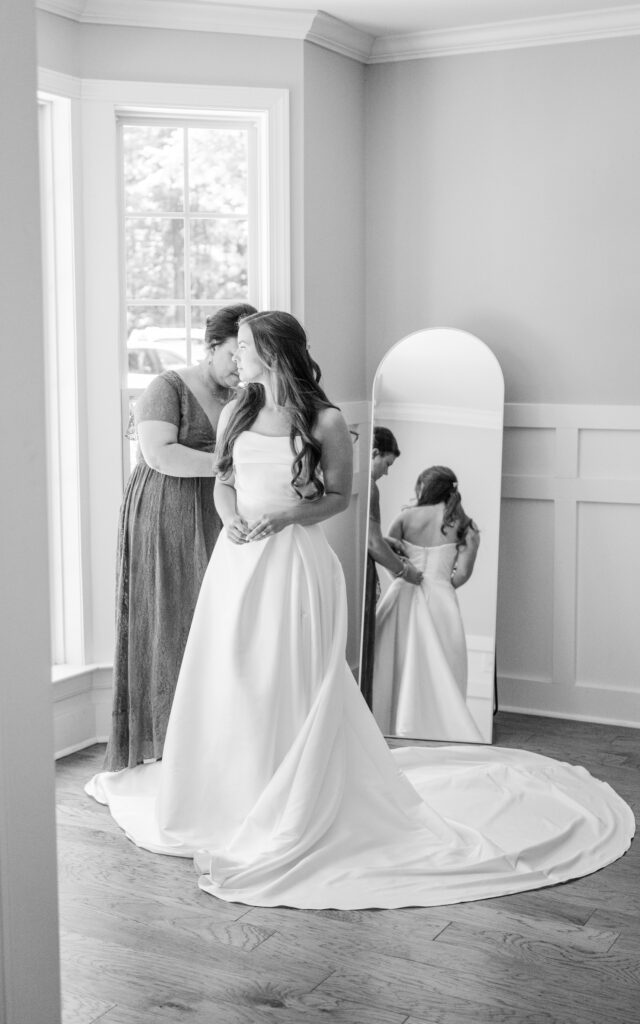
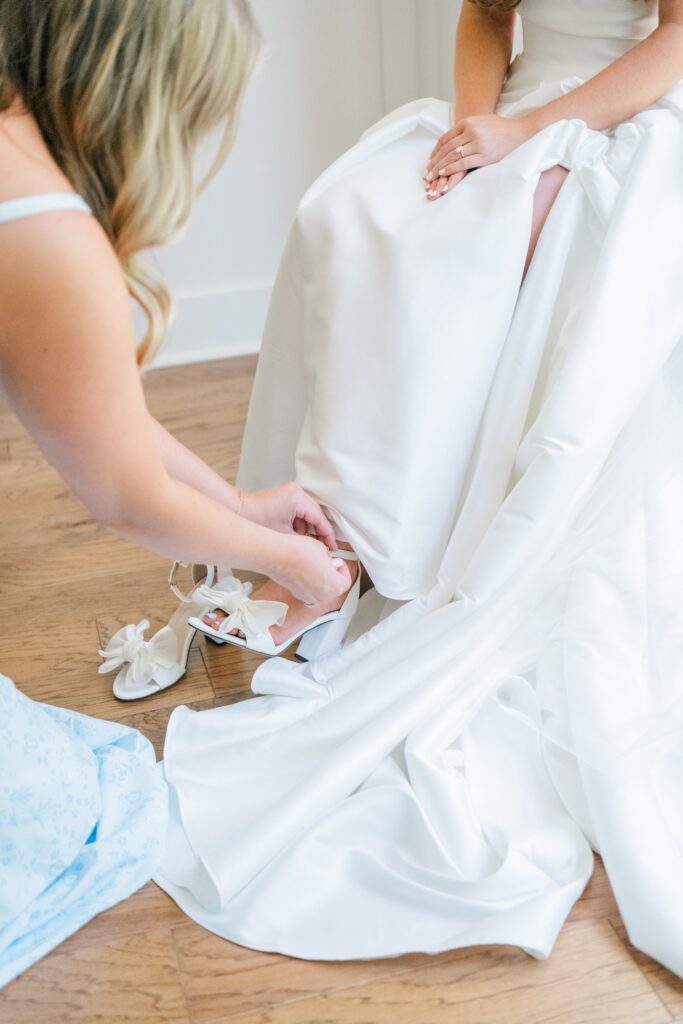
a. Getting ready spaces
Sometimes getting ready spaces are not always well lit. While I teach to try and find a better naturally lit area, sometimes we have to use flash. During these times I try to use very minimal pops of flash, but it can be so helpful. Be mindful of shadows that can be created from flash if your flash power is too high.
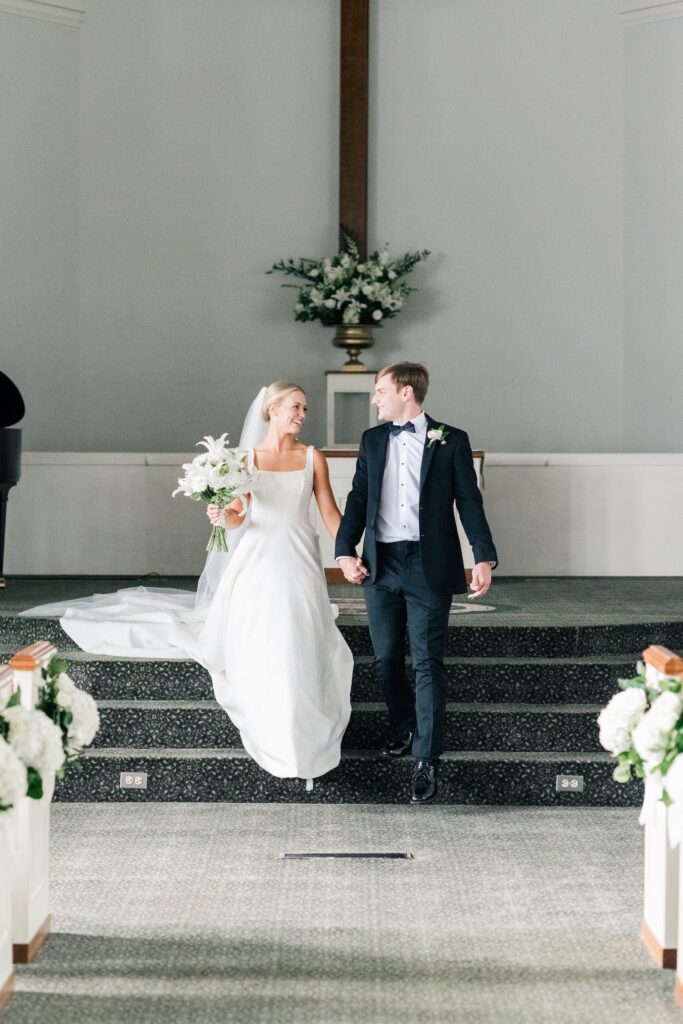
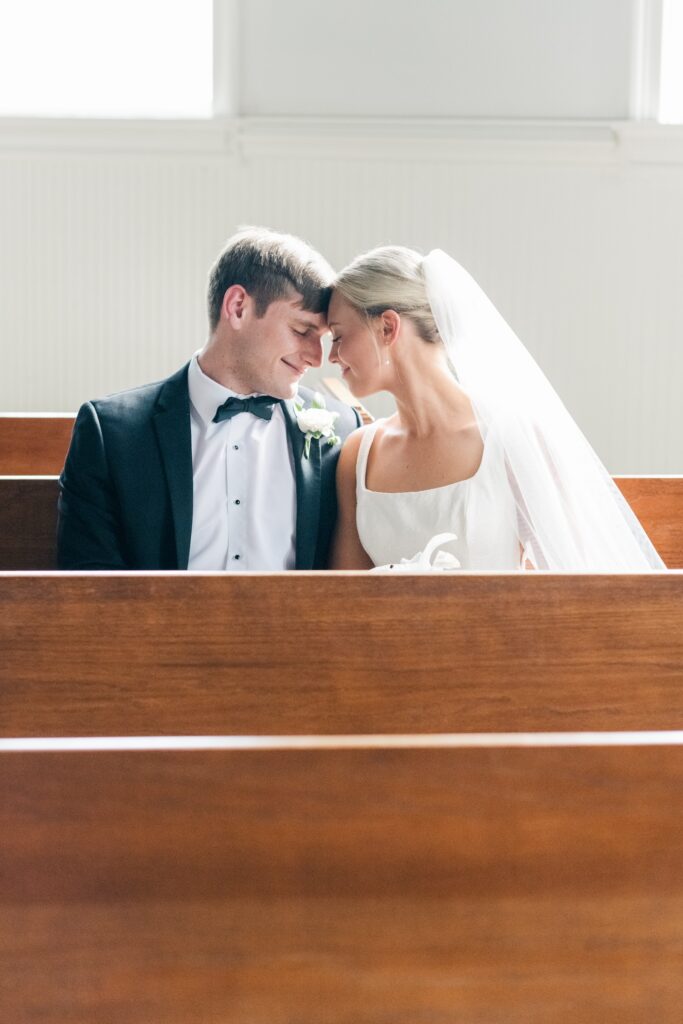
b.Ceremony (Low Light or Indoor Venues)
In churches and indoor venues with dim lighting or high ceilings, your on-camera flash is a necessity. Be mindful that some churches have a flash policy so always ask in advance. However if you can use your flash and MagMod, do it.

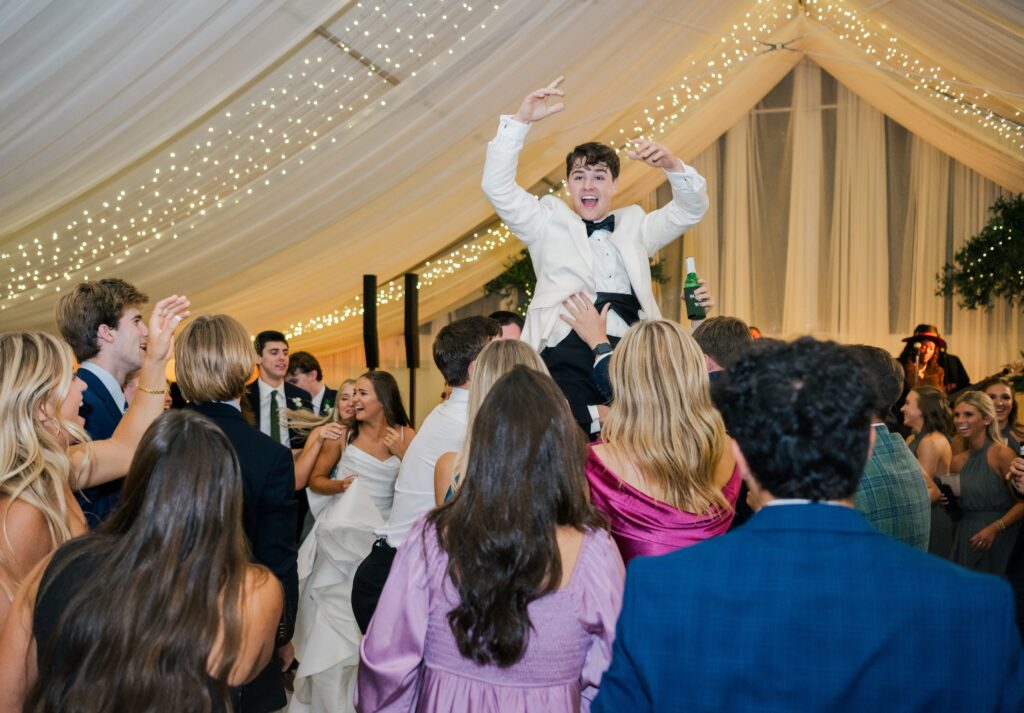
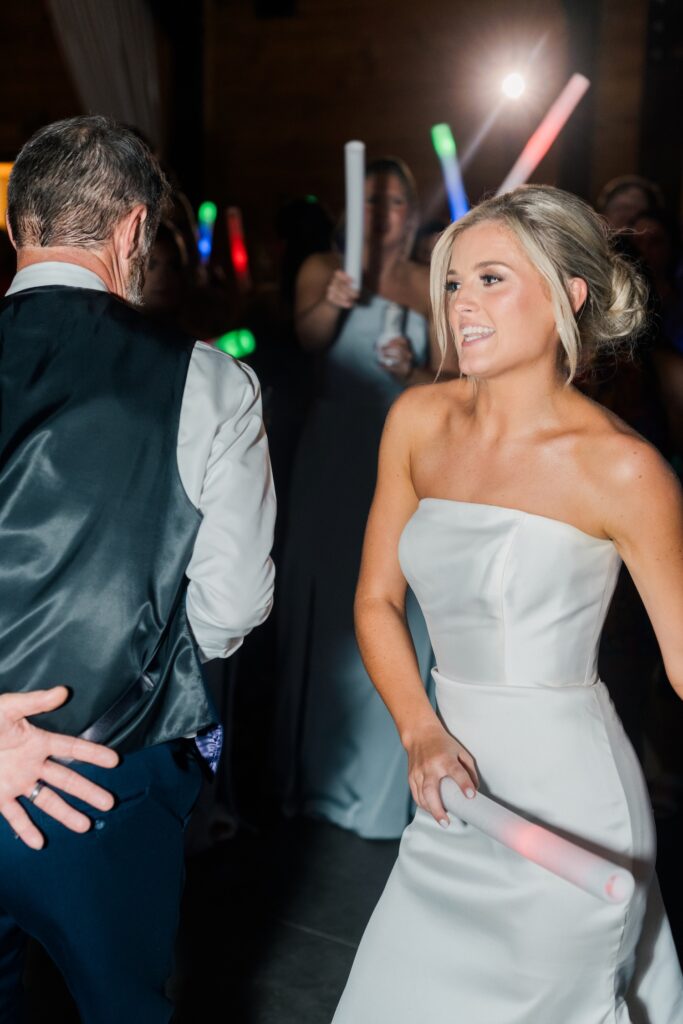
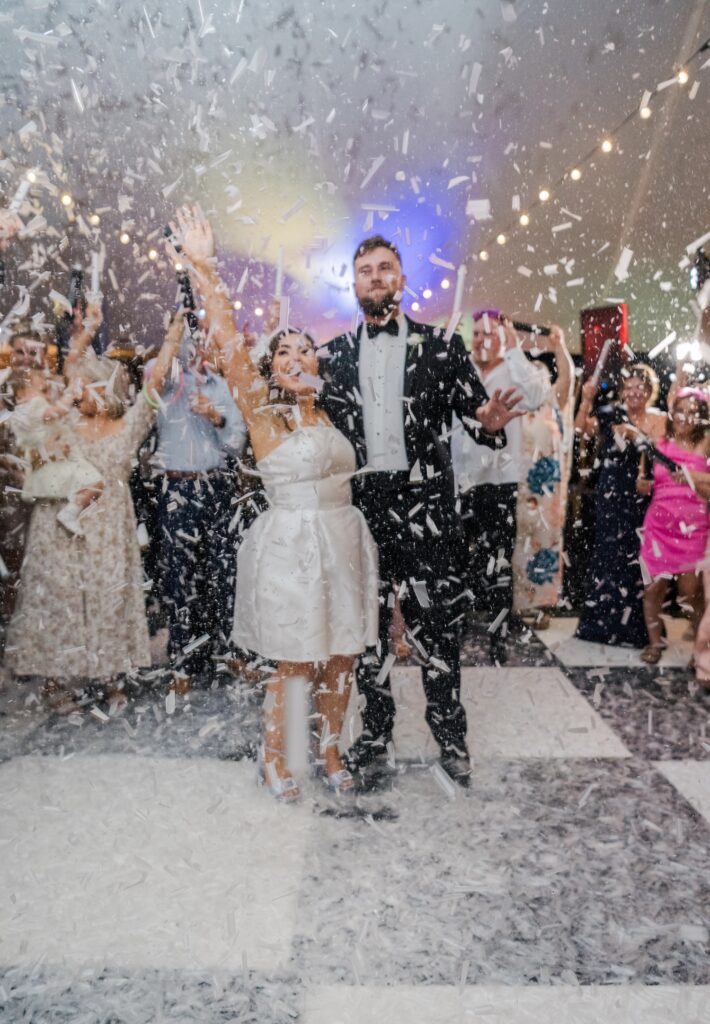
c. Reception and Dance Floor
Receptions are full of movement and dim/no lighting makes it difficult to capture in focus images that are well lit. A flash will help create light to evenly expose your images. On the dance floor, you may need to increase your flash power to compensate for the low ambient light.
4. Pro Tips for Better Flash Photography on a Wedding Day
- Bounce your Flash: Try to find a neutral wall or white ceiling to bounce your flash from when possible to diffuse the light and avoid harsh shadows. Bouncing off a ceiling or wall can create much more flattering light than pointing the flash directly at your subjects. This can be done by rotating your flash away from your subjects and angled towards the wall you want to bounce from. You can also use your MagMod when you don’t have a ceiling or wall to bounce from.
- Keep Your Distance when shooting: Flash loses power the farther away it is from the subject. If you’re too far away, the flash will have little effect and you will get frustrated trying to adjust flash power in the middle of your wedding day. (Talk about panic lol) On the other hand, if you’re too close, you’ll overpower the scene with too much light. This is all about finding your sweet spot. Your MagMod can also help with this.
- Use your MagMod: Do not be afraid to put your MagMod on your camera. Mine doesn’t leave my camera at most receptions. I promise it is a game changer for your images and keeps it simple!
- Stay consistent: As a wedding photographer you want your galleries to be consistent and cohesive. If you are a light and airy photographer, you want your reception photos to match that style. Using flash will help you create images that will do just that and leave your clients in awe of you.
- Practice: Just like when you learned how to use your camera, you must take time to learn flash. It is so important to be able to use it as a wedding photographer. You will get into lighting situations that are not ideal, and knowing how to control your flash will help you be more confident in front your couples.
Final Thoughts
Mastering on-camera flash can feel overwhelming, but I promise implementing these settings/ tips and practicing is going to help you learn and feel more confident putting a flash on your camera. Flash is not about blasting your subject with light, but controlling the light and using it to your advantage to capture your couples’ wedding day.
If you have any questions about on-camera flash, or thought this blog was helpful would you leave me a comment below!? You can also email me or DM me on Instagram anytime!
If you are new here I would love for you to check out some of my free education! I have a blog that drops every week and 2 FREE guides for download to help you in your business! Download the FREE Wedding Photo Checklist and 4 Go-To-Poses on a Wedding Day! I also have a free Facebook group that I go live in and share resources with 200+ new wedding photographers. I would love if you would come join us!
If you are looking to level up your client experience before your next wedding, be sure to purchase my Wedding Photography Timeline Template HERE! This template will walk you through how to create a timeline for each of your couples as well as 5 customizable timelines to be used in your business!
Want to know more about me check out more on my education page!
I hope you have enjoyed this blog and I cannot wait to chat more soon!
XOXO,
Katiera
share to


Be the first to comment